Landing pages are the front-end of any successful sales funnel. In their infancy landing pages were an expensive project, especially when multivariate testing was involved. Today HubSpot allows companies to publish attractive landing pages in minutes, and cut the costs associated with them by an order of magnitude.
The service that HubSpot has created is simple to use, but you will still need some basic knowledge to get your sales funnel up and running. Once you have learned how to use HubSpot's landing page creator, you will need to think through your sales funnel strategy. The funnel should be straightforward and lead a user to a desired goal. This can be an opt-in of some form, or the conversion to a sale.
How To Create A Landing Page With HubSpot, Now!
To state the obvious, your company will need to be a HubSpot subscriber. Once you have signed up for their service, this is all you need to do to craft a landing page in a hurry.
Step 1: Go To The Landing Page Manager
To begin, go to Content > Landing Pages in the navigation.
Step 2: Create A New Landing Page
Click the Create a new landing page button.
Step 3: Select A Landing Page Template
Once you have created your landing page, you will need to choose a template for it. There are many choices on HubSpot, or you can also purchase premium templates as well.
In addition to those two options, you can also convert a mock-up into a template, and HubSpot can show just how to do it.
If you want your landing page to feature a form for an opt-in or special offer, you will need to select a template that has a form module.
Step 4: Name Your Landing Page
Now that your template is all set up, you will want to give your landing page a name for all the other users on your HubSpot account. Choose a name that everyone will recognise, and then click on the Create button.
Step 5: Time To Add The Content
It should go without saying that this is by far the most important part of the whole process. The key components for your landing page are listed below, and making sure you present a well thought out, straightforward idea is the key to connecting with potential clients.
- Page Title
This is where you will connect with potential clients on a Search Engine results page. The title you choose should be direct and very easy to understand. This is also where you want to use the keywords that best describe your message.
- Landing Page URL
This is easy: just enter the URL for your landing page.
- Form Title
In the Edit section of the page editor, click on your form to show your options to edit the content. All you have to do is click on Form Title, and then enter the desired title. This title will be shown above your form on the finished landing page, so make sure it represents the image you want to show the world.
- Select An Existing Form, Or Make Up A New One
You can choose between using an existing form and creating a new one. If you want to add a new one, just click on the add new button. Otherwise, just use an existing one that you like the look of.
- Choose A Redirect Page, Or Elect An Inline Thank You Message
This seemingly innocent step gives you the power to upsell the user, or give them the chance to send your offers to friends or colleagues.
You can choose to direct them to a thank you message, or to another form where they are given the chance to go further into your sales funnel.
- To Follow Up With An Email?
Once a user converts to your offer or opt-in, you will have the chance to add them to a workflow and send them a follow-up email. In many cases this is a good idea and it also gives you a chance to send them a surprise offer, or discount on a product.
- Add The Rest Of The Content
Now you are almost done!
Every landing page will feature different content, and at this stage all you have to do is finish adding whatever other HTML, images or text you need for you landing page. Remember, keep it simple and straight to the point!
Step 6: Choose Your Page Settings
If you are in a hurry, you will want to stay in basic mode and get your landing page up ASAP. There are two main settings to address:
1) Campaign
This setting allows you to add your landing page to an existing HubSpot campaign.
2) Meta Description
The Meta description will appear below the page title below the search results. Make sure it is short, sweet and to the point. Phrasing it as a CTA is a good move. Use the meta-description to feature relevant keywords to help your target audience find it more easily.
Step 7: Publish It!!
Now all you have to do is click on the Publish Now button, and your new landing page will go live!
Using HubSpot With JDR
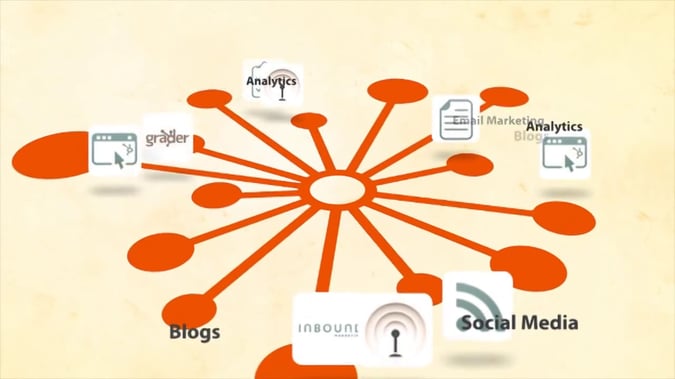
HubSpot is an excellent application that allows you to manage every aspect of your online presence. First and foremost a marketing automation platform, HubSpot draws all web channels together into one convenient dashboard, allowing you to take a strategic approach to your online marketing. Use HubSpot to create landing pages, schedule email campaigns, track social media applications, write blog articles and publish e-books.
JDR Group are a Platinum HubSpot agency, and one of the leading HubSpot partners in the UK.
It is possible to purchase HubSpot on your own and see what you can achieve, but many businesses that do so end up missing out on some of its advanced features and possibilities. HubSpot is an in-depth application and some users find they simply do not have the resources to use it to its full potential. This is why working with a HubSpot agency like JDR offers a competitive advantage.
Working with us gives you access to the full suite of HubSpot tools and a team of experienced marketing professionals with knowledge of how to use them. It is the fast track to more leads and a higher marketing ROI.